So we’re coming up on the holidays, and whether you’re doing a lot of traveling or not, you’re probably going to be taking a ton of photos. And if it’s like last year, or the year before, or the year before that… those family photos might not be the quality that you imagined them being.
I get it. Even as a professional family photographer, I know how hard it is to get good, quality photos of your loved ones over the holidays.
And it’s not really feasible to take a professional family photographer with you from house to house during the holidays.
But today I’m hoping to make taking good, quality family photos with your phone a little easier for you. By the end of this post, you will have several tips on how to improve the quality of your photos you are taking with your phone.
Why would I want to take my own family photos?
So even if you’re reading this and it’s not the holidays, but you’re looking to take your own family photos instead of hiring a professional family photographer, that’s cool.
A lot of people take their own photos to save money.
Some others want the original, raw photos (most photographers, including myself, don’t give the unedited photos to clients… mainly because your photos are considered our artwork, and we want to give our artwork to you in our style).
And another reason you might want to take your own family photos is so you can choose the specific time and place without feeling rushed. Don’t know when your baby is going to wake up from nap in a good mood? Don’t know when your teenager is going to be in a good mood? Taking your own photos means you can schedule the time and place on your terms.
How can I take better family photos with my phone?
Alright, here we go… my best tips on making this happen!
- CLEAN YOUR PHONE LENS. Gosh, this is so important. If you want those crisp, clear images, then wipe your lens off. If your lens is dirty (and, ahem, we all know how dirty our phones really are… I mean, scientists at the University of Arizona said our phones are TEN TIMES dirtier than a toilet! Yuck.), your photos are going to be blurry and low quality. So just do a quick wipe!
- Choose a location close to home. Obviously if you’re at home or someone else’s house, this is a moot point. But if you’re looking to take your photos in a specific location other than home, choose a spot close to home so there’s less travel time and less time for meltdowns. If you can get outside, go outside. If you’re inside, be sure to pay attention to my note about lighting, AND try to find a spot in your home without a lot of clutter.
- PAY ATTENTION TO YOUR LIGHTING! If there’s one thing I want you to take away from this blog post, it’s to pay attention to the lighting. This is the big one. Lighting is everything. The best time to take your photos is at dusk when the sun is setting (aim for 1.5-2 hours before sunset). If you’re out and about, and it’s not that time of day, the next best thing is to is to find an area where the sun isn’t shining. But you still want to make sure the lighting is even and not splotchy or stark shadows. Cloudy days are actually perfect (no direct bright light and no squinting!). If you’re inside, turn off the overhead lights and open the curtains. Position your subject so they’re facing the windows.
- Apple Users: Make sure your phone is set to “Most Compatible” file format. Go to your SETTINGS. Then CAMERA. Then FORMATS. And, finally, select MOST COMPATIBLE. Here’s why: Your phone defaults to “High Efficiency” format instead of JPEG. This affects what you can do with images once they’re uploaded… for example, these HEIF/HEVC file formats aren’t typically able to be printed or used in books/prints.
- Turn on the gridlines. These gridlines split your screen into 9 squares so it’s easier to apply the Rule of Thirds and to make sure the horizon is straight. (The Rule of Thirds, btw, is that you place your subject or other key elements of your photo in one or more of these 9 areas). Try to keep your subject in one of the 4 intersections. If it’s a close-up photo, line up the subject’s eye with one of the 4 intersections. And don’t tilt your phone!
- Purchase a phone tripod stand. Bonus points if it comes with a remote and doubles as a selfie-stick! If it has a remote, you won’t have to run back and forth, praying you get to your spot on time without looking haphazard. And, while I don’t recommend using selfie mode unless you absolutely have to, having a selfie-stick can be a gamechanger for those times you need a selfie. My favorite tripod (that doubles as a selfie stick and has a remote) can be found here.
- Make sure the camera lens is focused. Use those little boxes that appear around faces, and make sure the lens is focused on your subject(s).
- Don’t zoom. The more you zoom, the more quality you will lose. Period. So just use the tripod and move it closer. Or, if you’re holding the camera, move your body closer to whatever or whomever you’re shooting. You can always crop later.
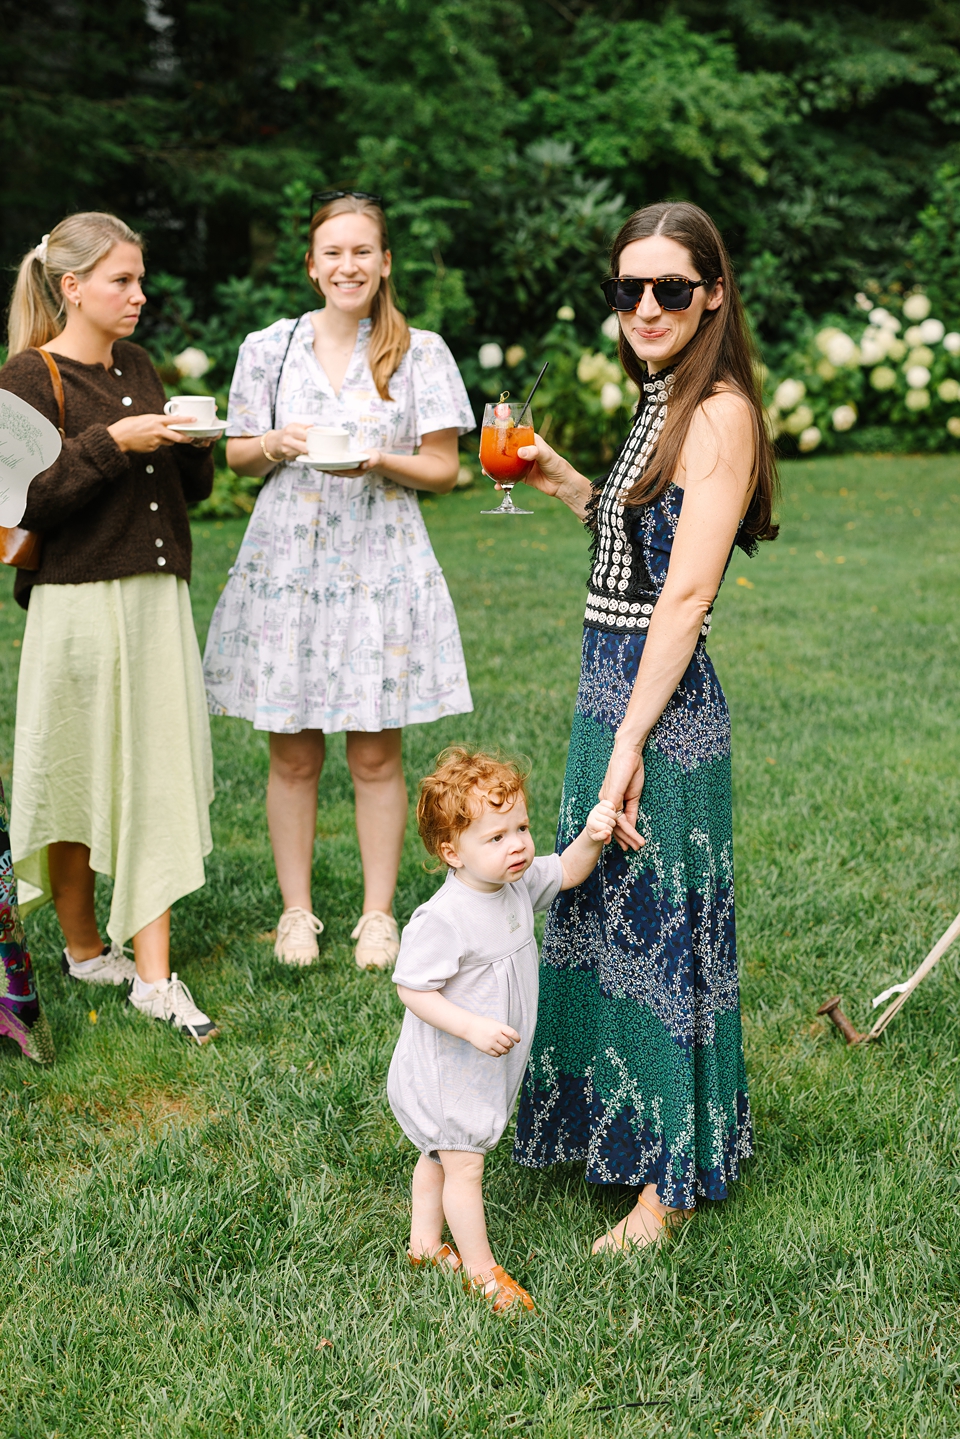
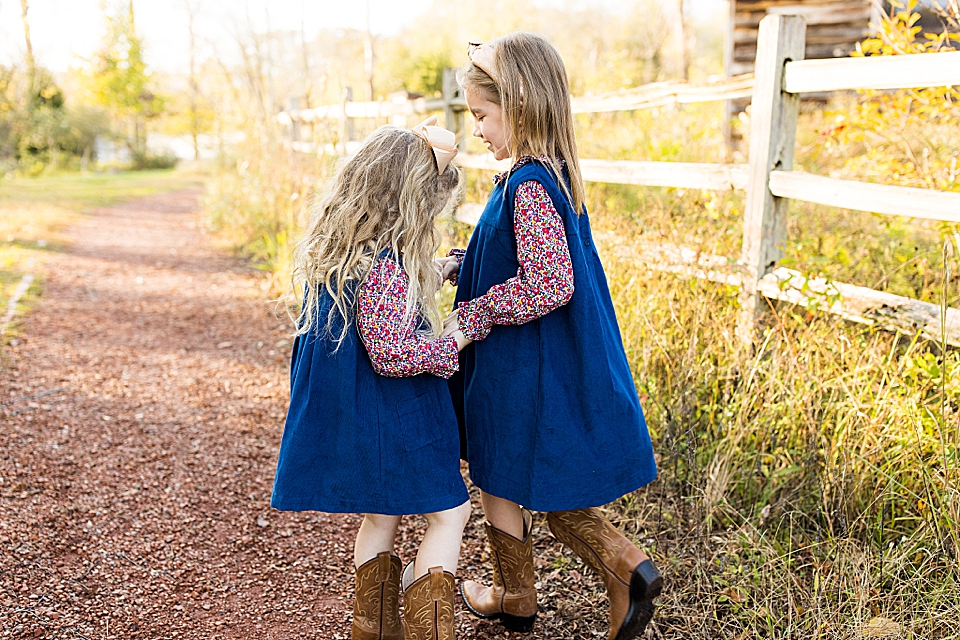
- Not every photo needs to be posed! Those candid, in-the-moment photos are some of my absolute favorites because you’re capturing raw, true emotion.
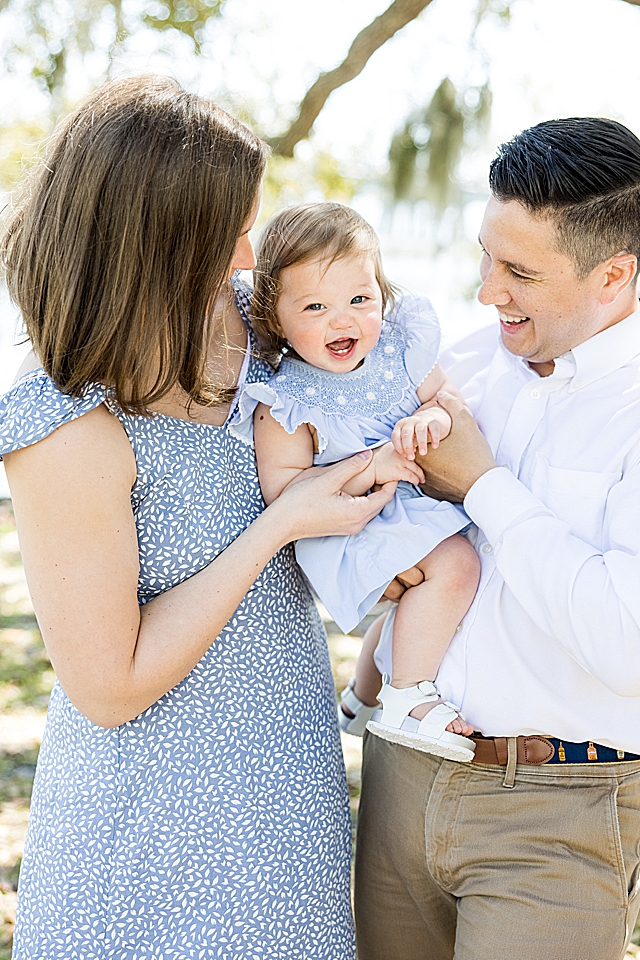
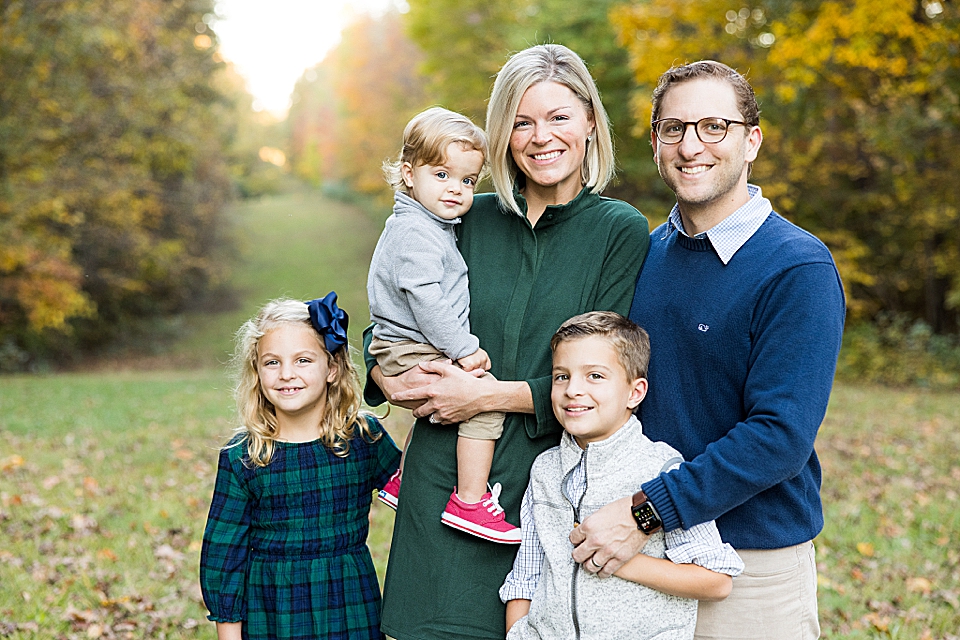
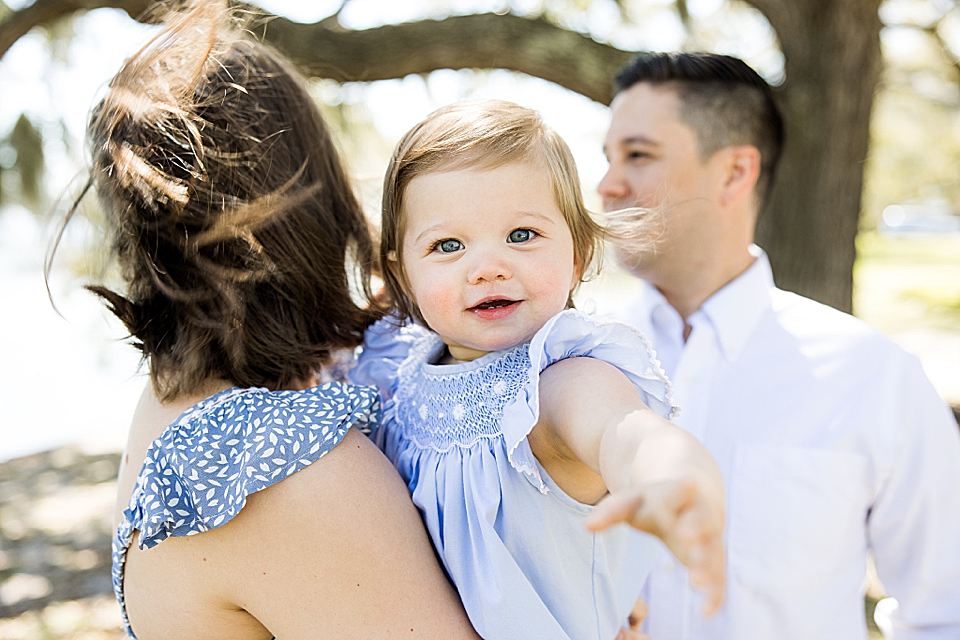
- But if you are posing… make sure everyone in the photo looks “connected.” This means that every person needs to be touching someone else… either by hugging, placing hands on shoulders/arms, holding hands, or leaning on each other… just make sure there’s a variety of “connected-ness”. Squish together, and get close. Have dad or someone else tell a funny joke to get those wide grins. You can even sneak a little tickle in to your kiddos.
How do I edit my photos with my phone?
Ok…now that you know how to take better pictures with your phone, let’s talk about how you are going to edit them so they look really good.
- Download the Adobe Lightroom CC app (it’s free) to your phone.
- Crop the photo well.
- Adjust the Light settings. Click on “Light”. Adjust the Exposure to your liking. Then add a teeny tiny bit of contrast. And, if necessary, adjust the shadows.
- Optional: If you feel like the coloring of the photo needs to be adjusted (maybe it’s too “blue” or too “orange”, then click on “Color” and adjust as needed.
- Adjust the Sharpening. Click on “Details”, and adjust the sharpening of the image so it’s crisp and clear.
- Save your photos with the max allowed pixels. Yeah, it’s going to be the largest file and will take up the most space, but it’s the highest quality download you’ll get.
Alright, there you go! Now go take better family photos this holiday season! And, if you find yourself still wanting some quality photos from a professional photographer, I’m here for ya. And I travel.