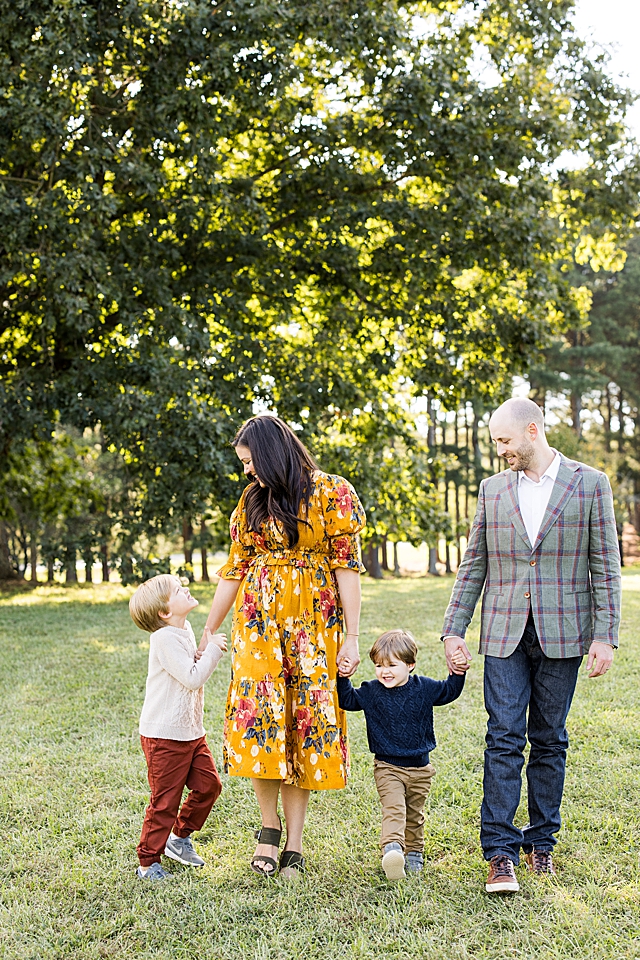
You’ve got a bunch of memories locked in photos, and I want to help you turn them into something tangible. Your photo album isn’t just a photo album—it’s a timeless storybook, a journey through your most cherished moments.
Every album is one of your stories.
Every album shows one of your journeys.
And I LOVE striking that balance between showing off your photos and telling your story.
But putting together an album is a big task. So I want to help you with some of my top tips to creating your photo album. From knowing which images to use to knowing how many photos to add to your album to where to get them printed, I’ve got you covered.
Let’s dive into the art of creating a photo album that’s not just a jumble of pictures, but a beautiful visual story.
Why Photos in an Album Matter
Photos aren’t just frozen moments and pixels on a piece of paper; they’re moments captured in time. They’re your time machine, whisking you back to those giggles, the tears, and the laughter. Think about it: flipping through your photo album with your grandkids, reliving your adventures— I get teary thinking about it.
The Snapshots vs. Professional Debate
Here’s the gist: Candid and snapshots we take with our phones catch life as it unfolds – the unposed, raw emotions that take your breath away. On the opposite side, professional photos are carefully crafted and are a beautiful combination of composition and creativity.
For your annual photo album, try blending the raw authenticity of snapshots with the refined elegance of professional shots. Snapshots keep it real, while the pro pics add that wow factor.
However, if you’re curating an album for a milestone moment—a wedding, engagement, maternity, or newborn session—opt for the pro photos only. They tell a story of their own, capturing the essence of that special moment. And then, you may want to consider asking your photographer to create an heirloom album for you.
Read more about investing in an heirloom album.
Balancing Candid and Posed Shots
Finding balance between candid, unposed shots and posed shots is key! Candid shots bring those genuine giggles and teary-eyed hugs, while posed photos give you the chance to make picture-perfect compositions.
My advice? Mix it up! It’s the blend of the two that brings depth without losing the visual charm.
Seeing from a Different Perspective
Angles matter! Switching viewpoints turns ordinary photos into extraordinary visual stories. Experiment with heights and angles; they add depth and drama to your album. Zoom in close. Zoom out wide. Shoot something from mid-level. Shoot from up high. All that variety helps create more interest!
How to Organize Your Photo Album
We’ve already talked about how your album is like your storybook – each photo a chapter, each page a moment. So you want to organize everything appropriately.
First, group your photos by event and then arrange them chronologically. For example, let’s say you’re creating your annual photo album, you have all your photos from the past year on your computer. Go ahead and create a file system, separated by months. Then, within each month, have folders for any specific events or moments.
Here’s a specific example:
- January
- Daddy’s birthday
- February
- March
- Riley’s 5th birthday party
- Spring Break at Pawleys Island
- April
- Easter at Grandma’s
- May
- Mother’s Day
- June
- Family vacation to Fripp Island
- Father’s Day
- July
- Mommy’s birthday
- 4th of July
- August
- Back to School Pics
- September
- William’s 8th birthday party
- Clemson vs. FSU football game
- October
- Halloween
- November
- Thanksgiving
- Picking out a Christmas tree
- December
- Visiting Santa
- Christmas
All the photos that don’t seem to fit in a specific file can just be thrown into the monthly file.
How to choose which images go in your photo album
Oof. This one is tough, isn’t it? Go for moments that tag at your heart.
And quality trumps quantity. ALWAYS.
Trust me—you’ll rather see 3 amazing photos from Riley’s 5th birthday party than 15 photos that don’t really capture too much.
If you have a ton of photos from a family vacation, my rule of thumb is narrow it down to your top 10. You’re not getting rid of your photos…you’re just not putting ALL of them in your photo album.
How to choose layouts for your photo album
Now let’s arrange those visual pieces! Group your photos into logical sequences—vacations, holidays, family outings—whatever feels right to tell your story.
And mix it up with layouts! Full pages, collages, insets—keep it diverse. And here’s a tip: pair a close-up shot with a wide-angle shot; it adds dimension and visual interest.
Best places to make photo albums
If you are not investing in an heirloom album from your photographer, then you can totally make your photo albums on your own.
My favorite places to make your photo albums are:
- Artifact Uprising
- Blurb
- Chatbooks (perfect if you want something small or if you’re creating lots of photo albums throughout the year!)
It’s quite a feat to create your photo album. But it’s fun! Balance snapshots and pro shots, blend candid moments and posed scenes, experiment with angles, and weave stories. Your album isn’t just a collection of moments; it’s a canvas painted with your memories.
So, let’s create an album that not only narrates a story but also evokes emotions and shows off your cherished moments that’ll echo through generations to come!
And if you’re one of my clients and need some help, shoot me an email!
